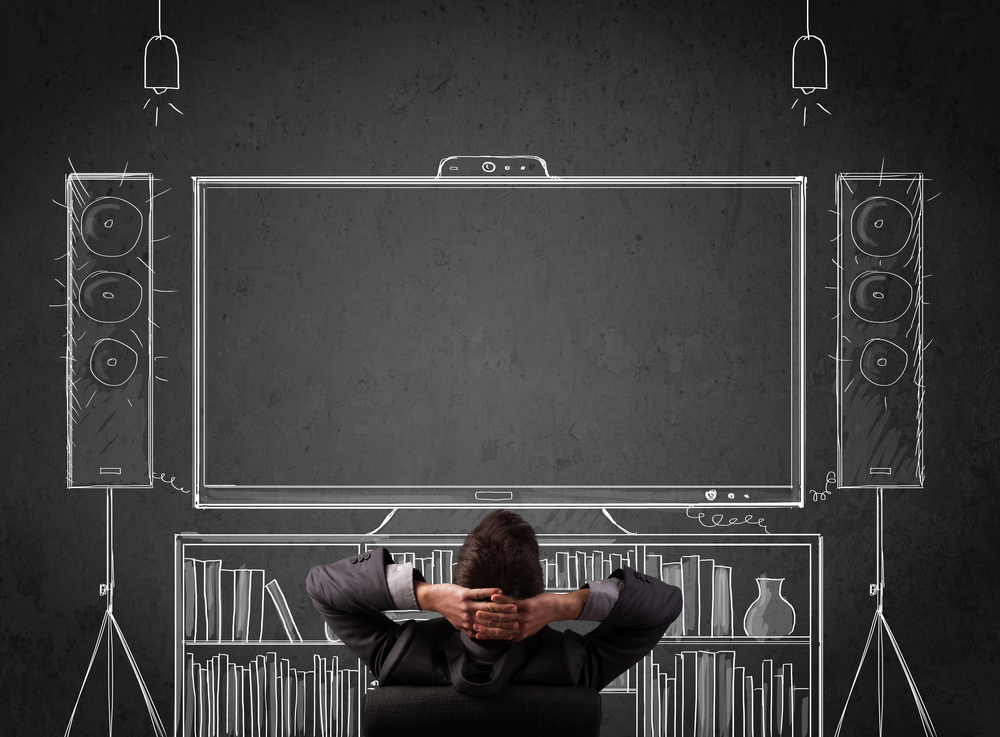
Businessman in front of a home cinema system

What if I told you that you could get your personal home theater with eight steps?

That’s right, you no longer have to wish and dream about being a rich and famous individual, you can have a home theater with your own affordable budget. This way you can enjoy a family movie night without having to leave your own home. Home theater systems are no longer only an extravagance for the rich and famous.

The very first step is that you have to choose a location.

Now it has been said by experts that the idyllic space for your perfect home theater has the measurements, 20 feet long by 13 feet wide. Now typically, this theater space is not part of the rest of the house because of the sound, which can have the potential to disturb others. So if it can be done, build your theater off the family room in its own separate wing.

The second step is to frame and insulate. Research has shown that when it comes to building the shell of the home theater, it will be the same process as other additions to your home. The only difference will be the insulation, which is highly important when it comes to blocking out the noise of the home theater from other parts of the house. The standard insulation for the floor, ceiling and the exterior wall is a rating of R30. You will also need to use R11 to loosely pack into the interior walls.

Step three is pre-wiring the surround sound. The majority of home theaters use 7.1-surround sound and then there is the current audio wiring that homeowners are using, which is 9.1. Before setting up the surround sound, mark where each speaker will go in the room.

Next, you will have to pre-wire the video projector. Now if you want to go big with a truly large-screen theater, all you will need is two cables to pre-wire the projector. You will need an HDMI cable, and a CATS control wire. Crestron control systems are great for this.

The fifth step is to pre-wire the lighting. This is essential when it comes to giving your family the perfect movie theater atmosphere. So make sure that there is lighting in the ceiling and along the side walls. You’ll need to have electrical wiring to both of these locations.

The sixth step is to install the drywall and the sound barriers. Just remember when installing your drywall, you will need to make incisions so that you will be able to pre-wire the electrical and audio cables.

The seventh step is setting up both the Newtek video and the sound systems. A little decorating tip is to camouflage the extra speakers you have with the acoustic panels.

The final and eighth step is to furnish your theater with the theater style seating. You can use sofas and loveseats or even a sectional, but for the best effect install theater-style seating. You will need two rows of four seats.

So, there you go. Enjoy your theater.
Multimedia projector

With so many projector varieties available, it could take forever to choose the right one! Today’s article will discuss how to make the process of choosing a projector a simpler task.

Primary Activity

First, consider how your projector will be used. Projectors are chosen for one particular activity or many. However, look for specific features that can support the mainactivity. The following examples will steer you in the right direction to find the best projector for different settings and circumstances:

Interactive

An interactive projector is an powerful training medium to engage students and enhance their learning experience. The main advantage of an interactive projector is its ability to present media on any surface just like a smart board. Moreover, these types of projectors are compatible with interactive computer software applications that can be displayed on a screen.

Small Office

Projectors used in a small office need to be reasonably priced and portable to allow presentations to take place from any given location. If you need a projector to bring the “wow” factor with your presentation, opt for one that features a traditional lamp to maximize your media’s visual delivery. Other factors to consider when buying a small office projector is its maintenance requirements. Projectors integrated with LED technology provide extensive operation without maintenance compared to traditional lamp projectors.

Side Note: LEDs last 20,000 or more hours without needing to replace the light source. They allow for cooler operation than traditional lamp projectors and lead and mercury don’t exist in any of their components.

Mobile

If your projector will be used mainly on-the-go, consider investing in a Pico, Mobile LED projector, or palmtop projector. These projectors can weigh anywhere from a few pounds to just a few ounces. They can usually deliver document presentations without being connected to a computer and are designed to startup up your presentation very quickly. Some Pico projector models (just a little larger than a smartphone) can easily fit inside of your bag, backpack, briefcase, or even your pocket! Multiple models can project content through a Mobile High-Definition Link (MHL)-enabled HDMI port or via Bluetooth from a smartphone or tablet.

Side Note: Pico projectors typically feature media at a dimmer brightness level and are considered pricey for their performance capability. Palmtop projectors are bigger and deliver higher brightness than Pico projectors and have more connection options. Both of these mini projectors can run files from an SD card or USB thumb drive. In addition, several models are integrated with rechargeable batteries. Some models are even capable of storing 1GB or more of media files.

Large Venue

If your presentation is meant to be seen by a large audience, you’ll need a large venue projector to deliver a presentation with excellent visual contrast and maximum brightness. Other features to look for is a dual-lamp design for power-packed operation, a range of lens options for flexibility with installation, and network support for remote handling and control.

Rooms with Ambient Light

A user-friendly data projector that features remote control options is a great pick if you need to run your presentation in a conference room setting without delay. Ambient light level combined with the actual light intensity in your viewer’s line of sight can greatly influence their perception of your presentation. Select a high-lumens projector when you need to control the presence of ambient light to achieve higher image resolutions.

Home Theater

The home theater setting always involves big-screen images. Presentations that deliver vibrant colors and high resolution complete (except for the popcorn and musty cinema smell) the “theater experience.” In this setting you’ll need a “multimedia projector” that delivers a greater level of color saturation and powerful contrast ratio to ensure that movies and other projected images maintain their visual appeal. An easy-to-use remote control will be a top feature to look for with your projector. You may also want to consider getting one with 3-D capabilities so it’s compatible with 3-D movies or 3-D games, for example, that is also integrated with stereo audio capabilities for exciting gameplay.

Side Note: Check carefully to ensure that all the elements of your 3-D system are compatible. Your projector’s required brightness level will depend on three things: the content, the image size, and the level of brightness of the room (dark to full
lights) with each element affecting the other. A home theater projector used in a pitch black room can produce a large, bright image in the 1,000 to 1,200 lumens range.

Conclusion

Projectors continue to improve in their brightness delivery, picture quality, and innovative features. Whatever a projector’s main use will be, it’s important to understand key things about projection first before you ever make an investment.